Welcome to the next page in my Tour of Textile Arts Gallery A. Here is both “Carefree Filet” Crochet Home and “Sassy & Sophisticated” Crochet Closet. Both projects were done in Fall 2022. Compared to the last textile art, this one is done loosely. It truly changes things when you simply hold strands of yarn together, rather than carrying yarn while interchanging colors. This particular project was fairly easy from the get go. Let’s check out the details below.

“CAREFREE FILET – Fall 2022” ~ An approx. 64” x 64” Afghan or throw.
Created with the following;
- 1 skein of Red Heart Super Saver Jumbo ~ Soft Navy
- 9 skeins of Lion Brand Scarfie skeins ~ Denim/Navy
- Hook size N
The Lion Brand skeins I got on clearance at Walmart. I know, imagine that, as this rarely happens, especially with big bulky skeins. And marked at only a dollar each, crazy right? I couldn’t pass up the steal! Also this yarn was fairly soft too; even better.
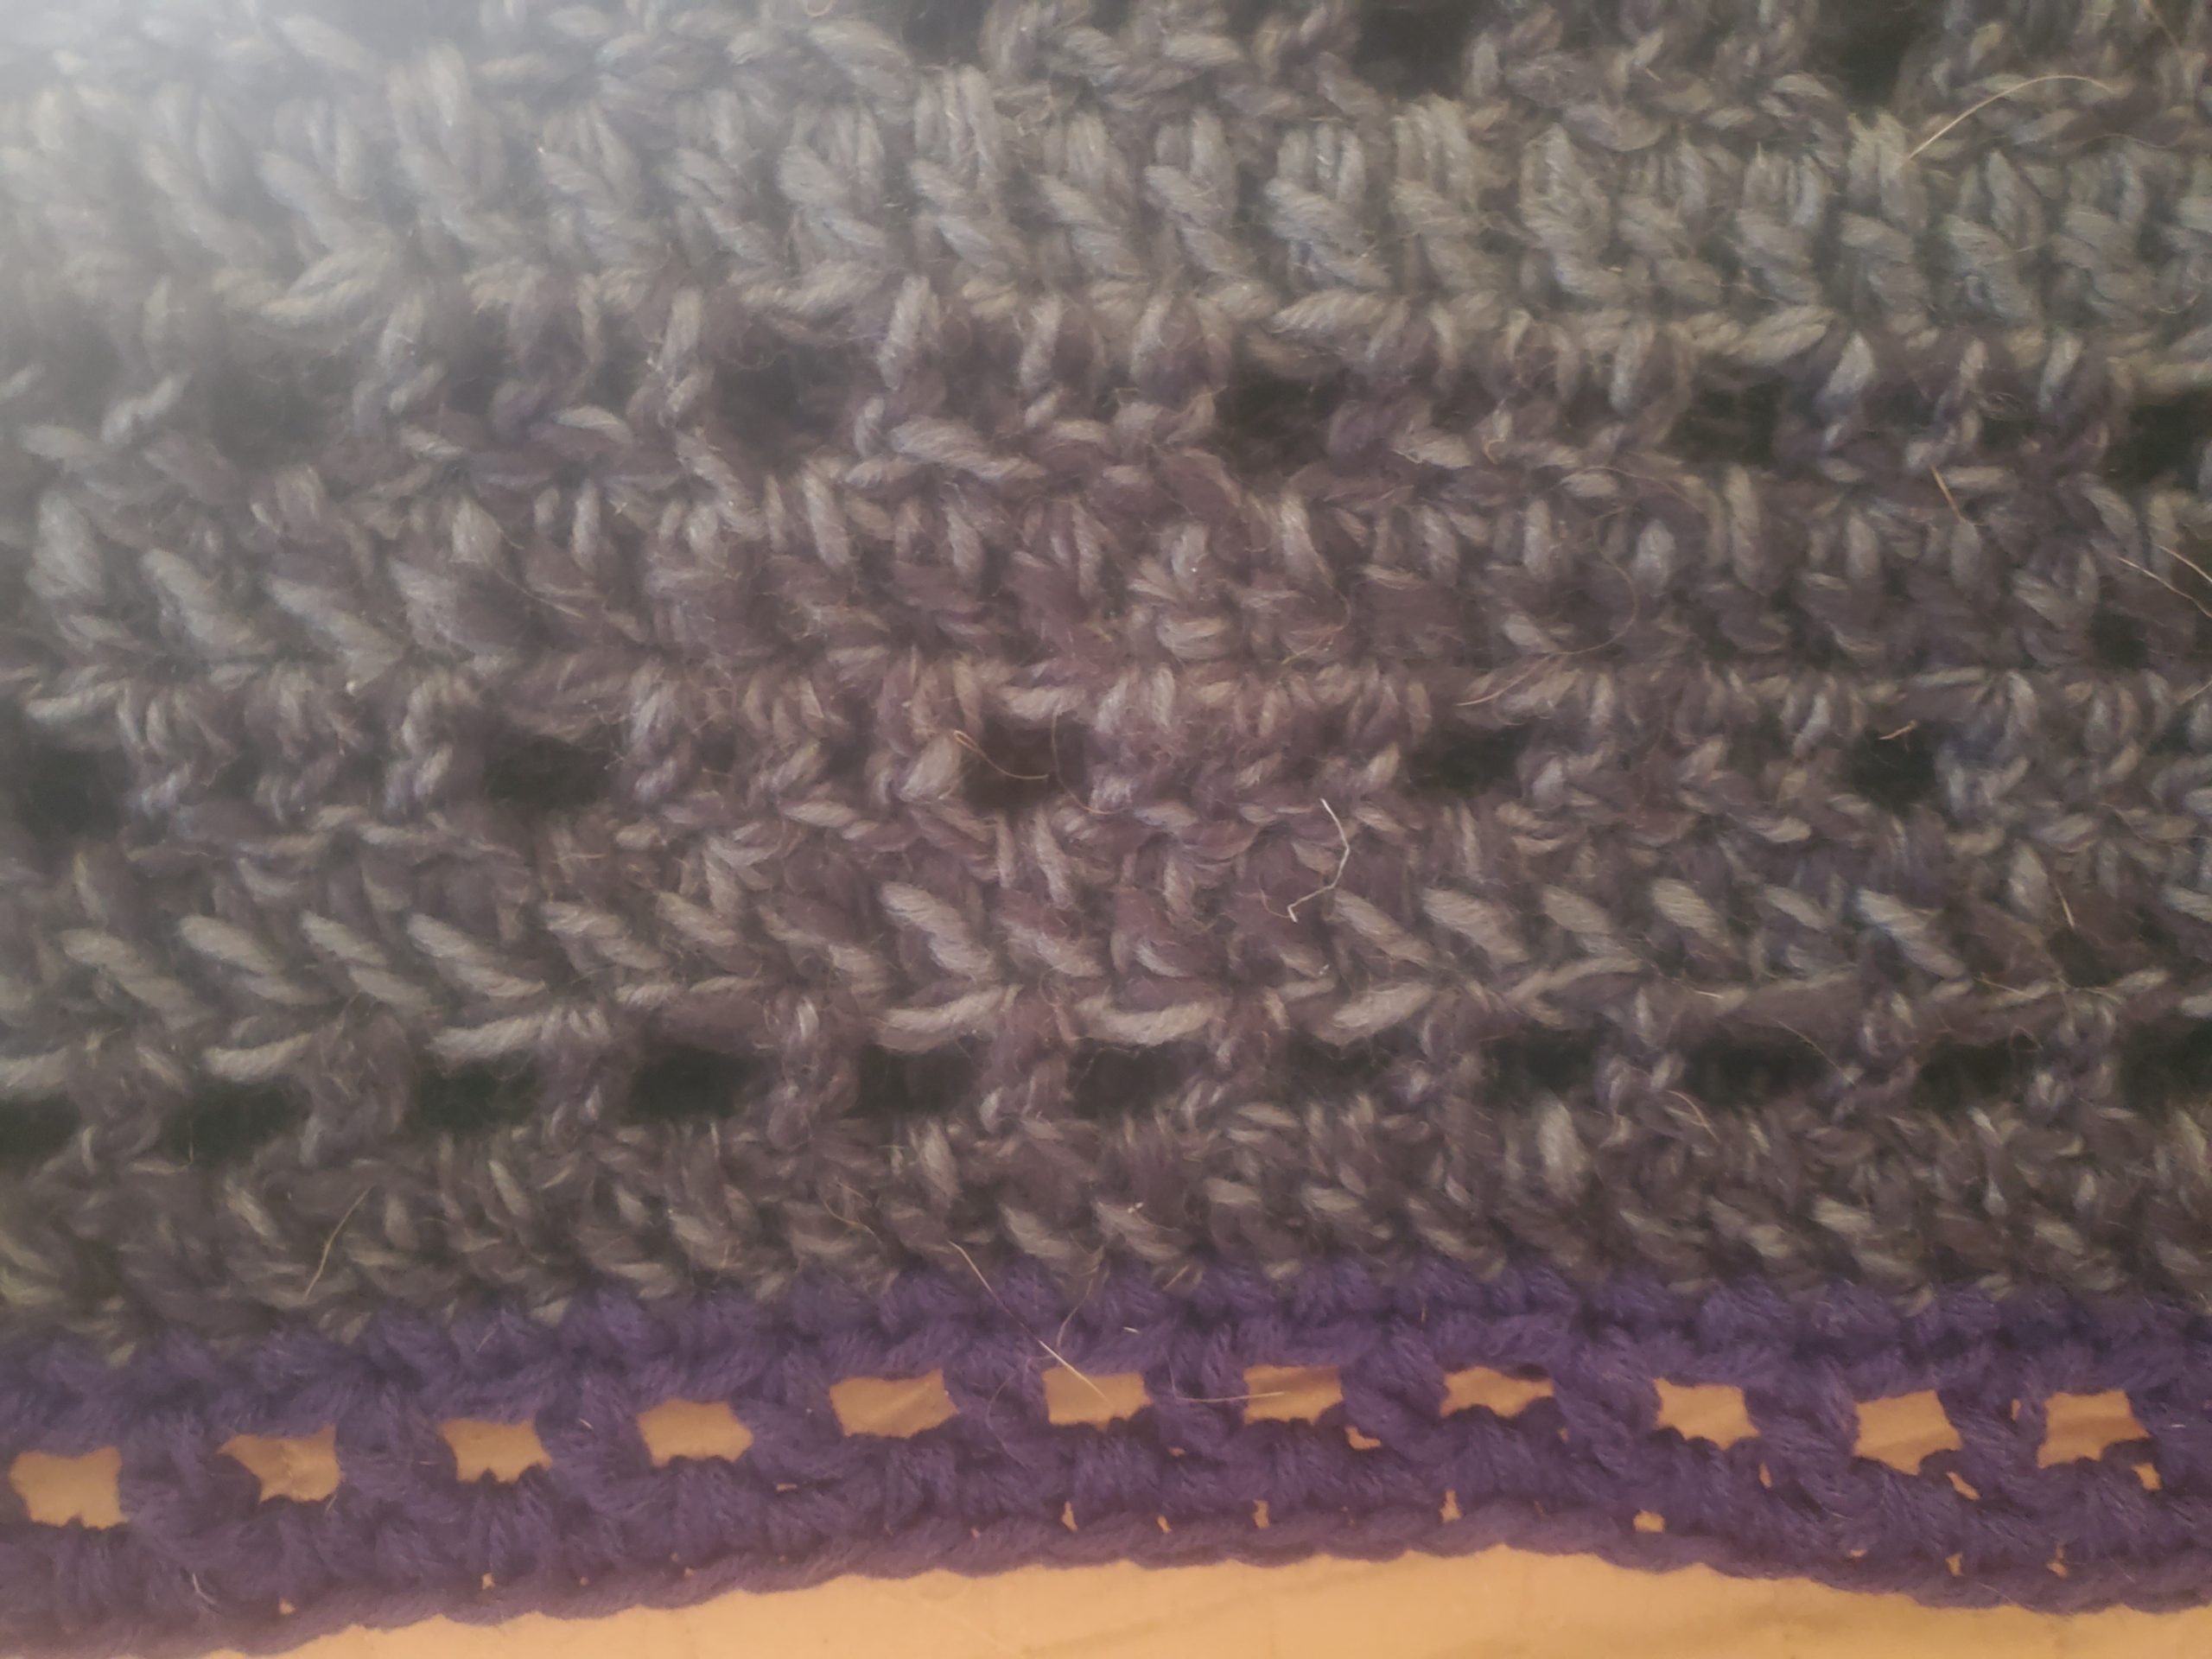
In order to get the look, I used a pattern from out of my collection called, “Afghans on the double.” It is a book series from Oxmoor House. The majority of the patterns in the book are for chunky or bulky yarns. The pattern was called Carefree Filet Crochet as titled.
Furthermore, holding two strands of yarn together, along with chain stitches and double crochet stitches was used throughout. Also, single crochet stitches were used on the border as well. Simple stitches with a fairly simple pattern created this soft and cozy fall Afghan.

Another Tour of Textile Arts Gallery A
Also, just so you know, I rarely, if ever, check my gauge while crocheting. I do not think a throw, blanket and or Afghans need to adhere to a specific size. And, when I did check my gauge, once or twice, I was pretty spot on with the tightness versus how loose my stitches are, so I take that as close enough. Maybe that’s why I make my own sizes on most of my current projects; basically winging it. It lets me be more creative.
Another project I was able to create after years of knowledge and reading patterns was this challenging piece of clothing:
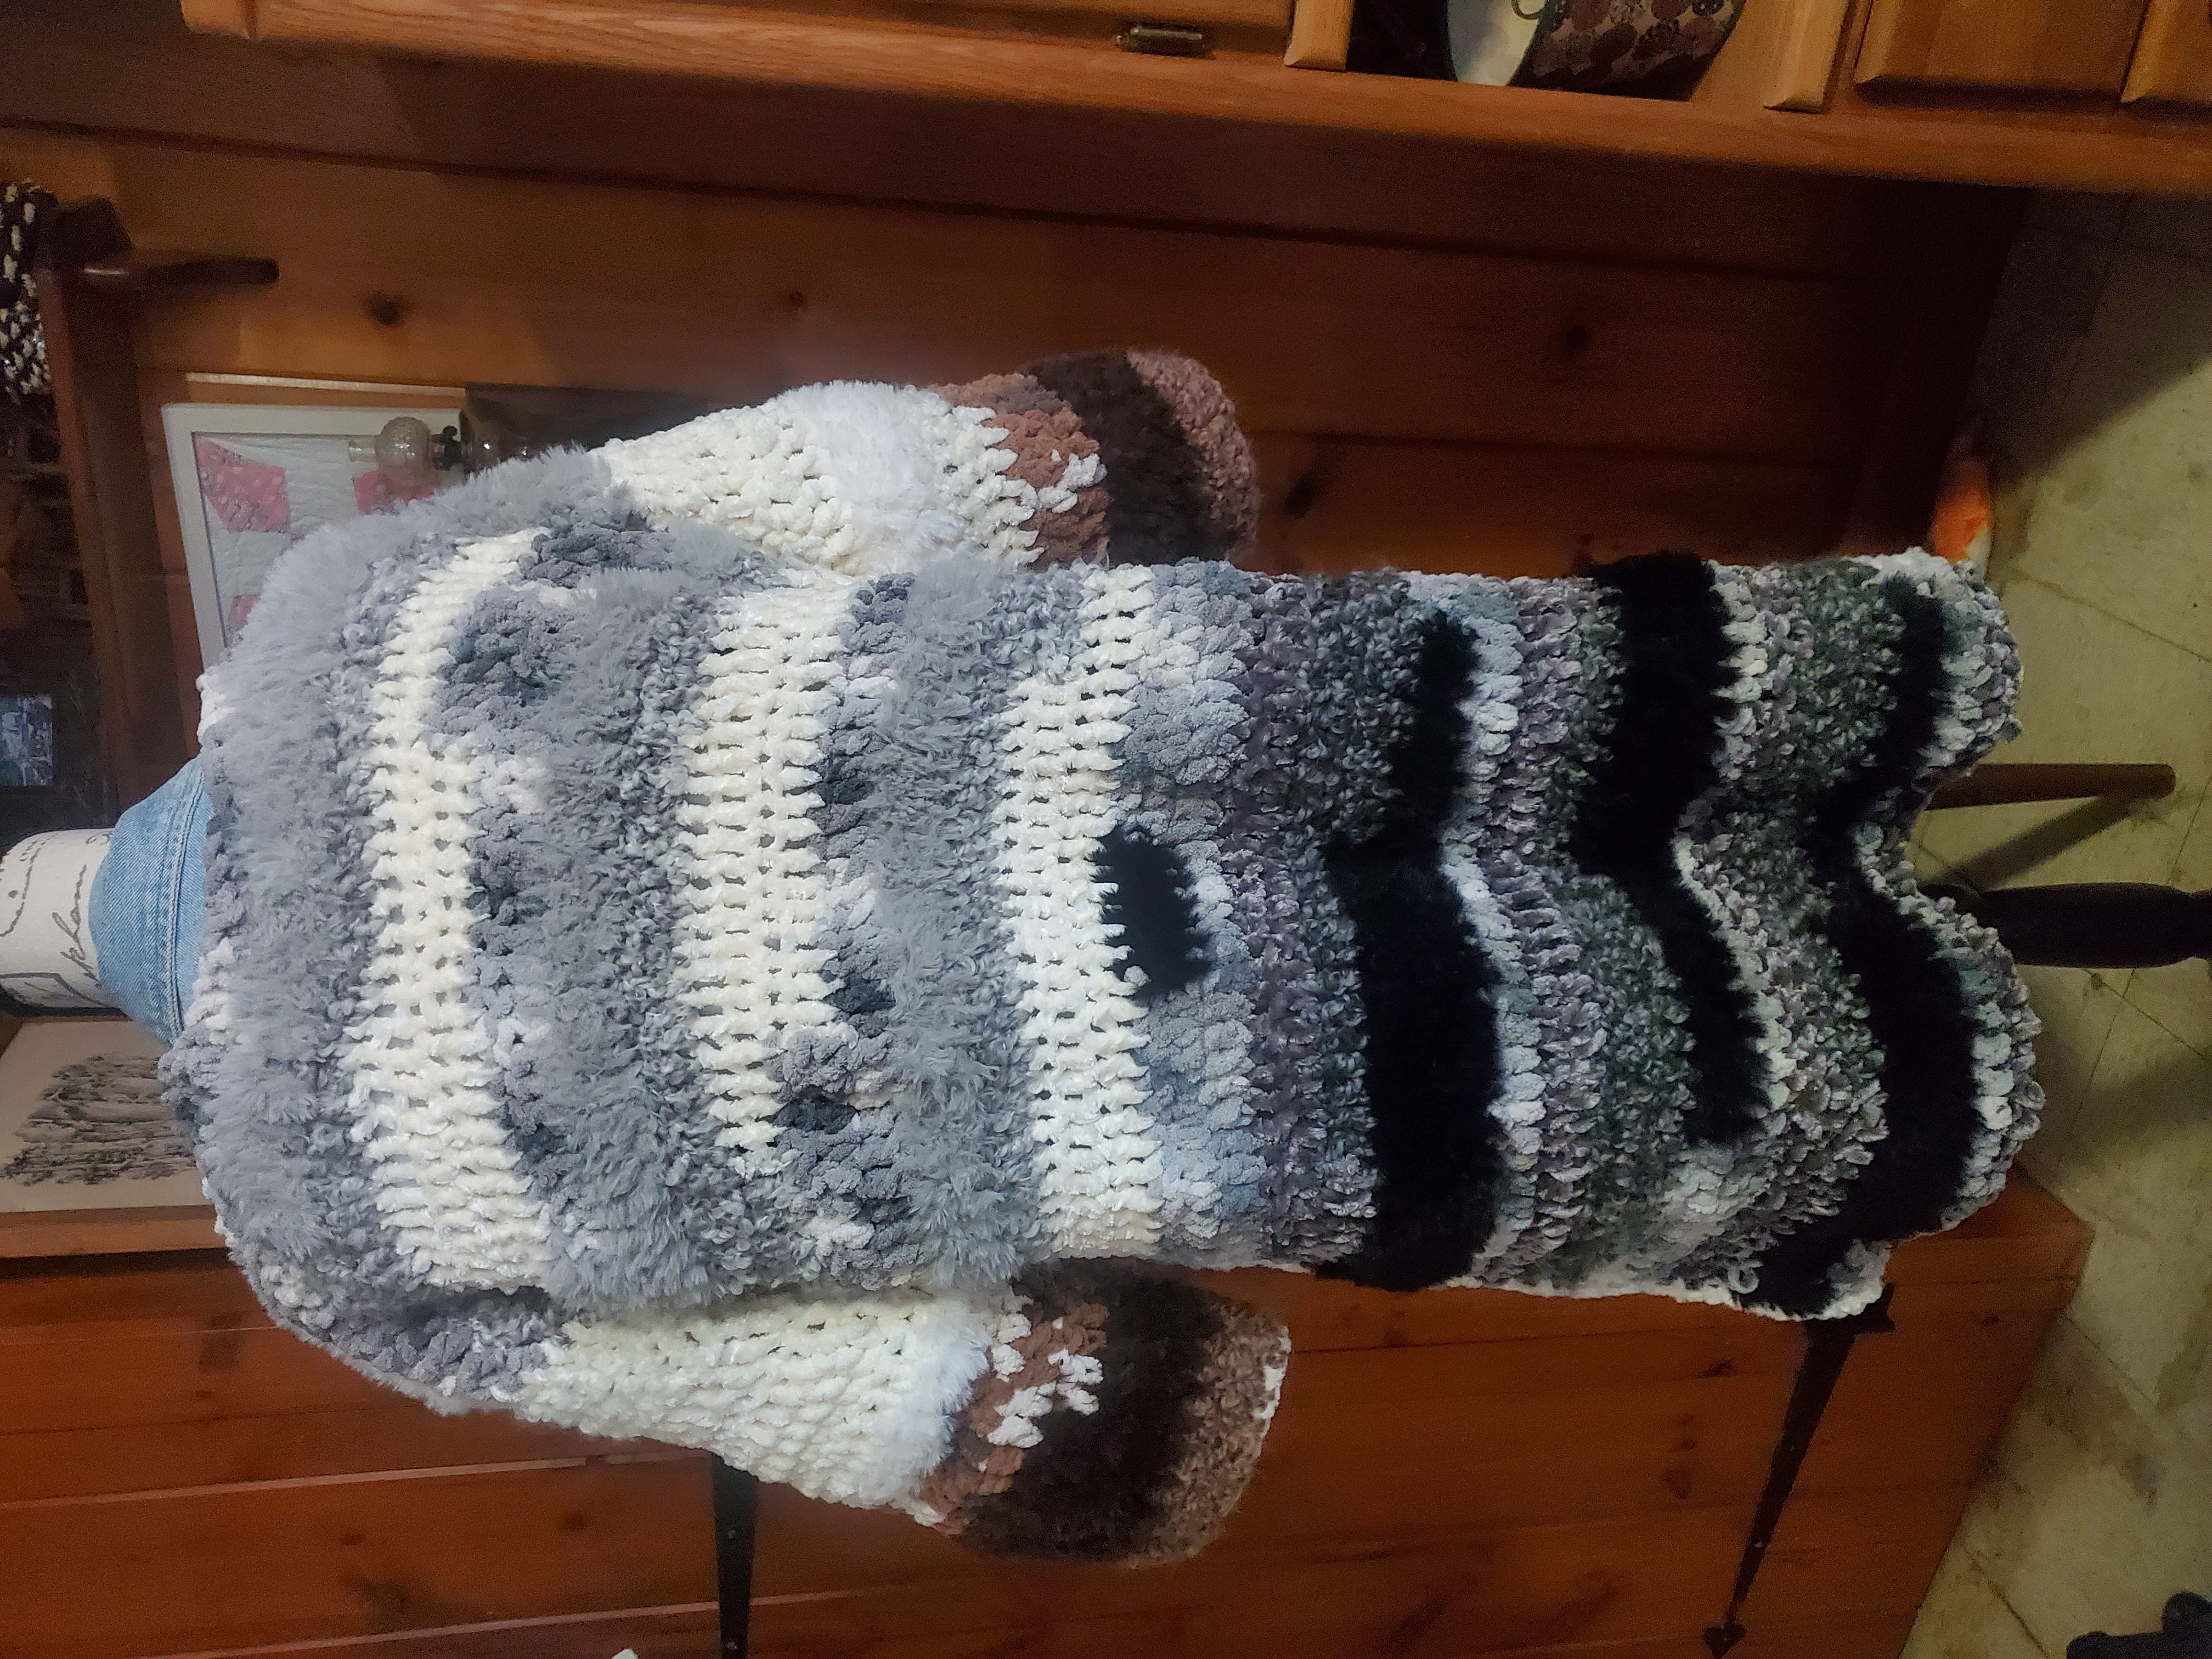
“SASSY & SOPHISTICATED – 22/23” ~ An approx. 24” x 32” (M/L) Jacket/Coat. [Sleeve length is 13”]

Created with the following;
- 5 skeins of Super Bulky Yarnspirations Bernat Casa
- 2 skeins in Creme
- 1 skein in Tawny Brown
- 1 skein in Grey Shade
- 1 skein in Grey Cloud
- Hook size M
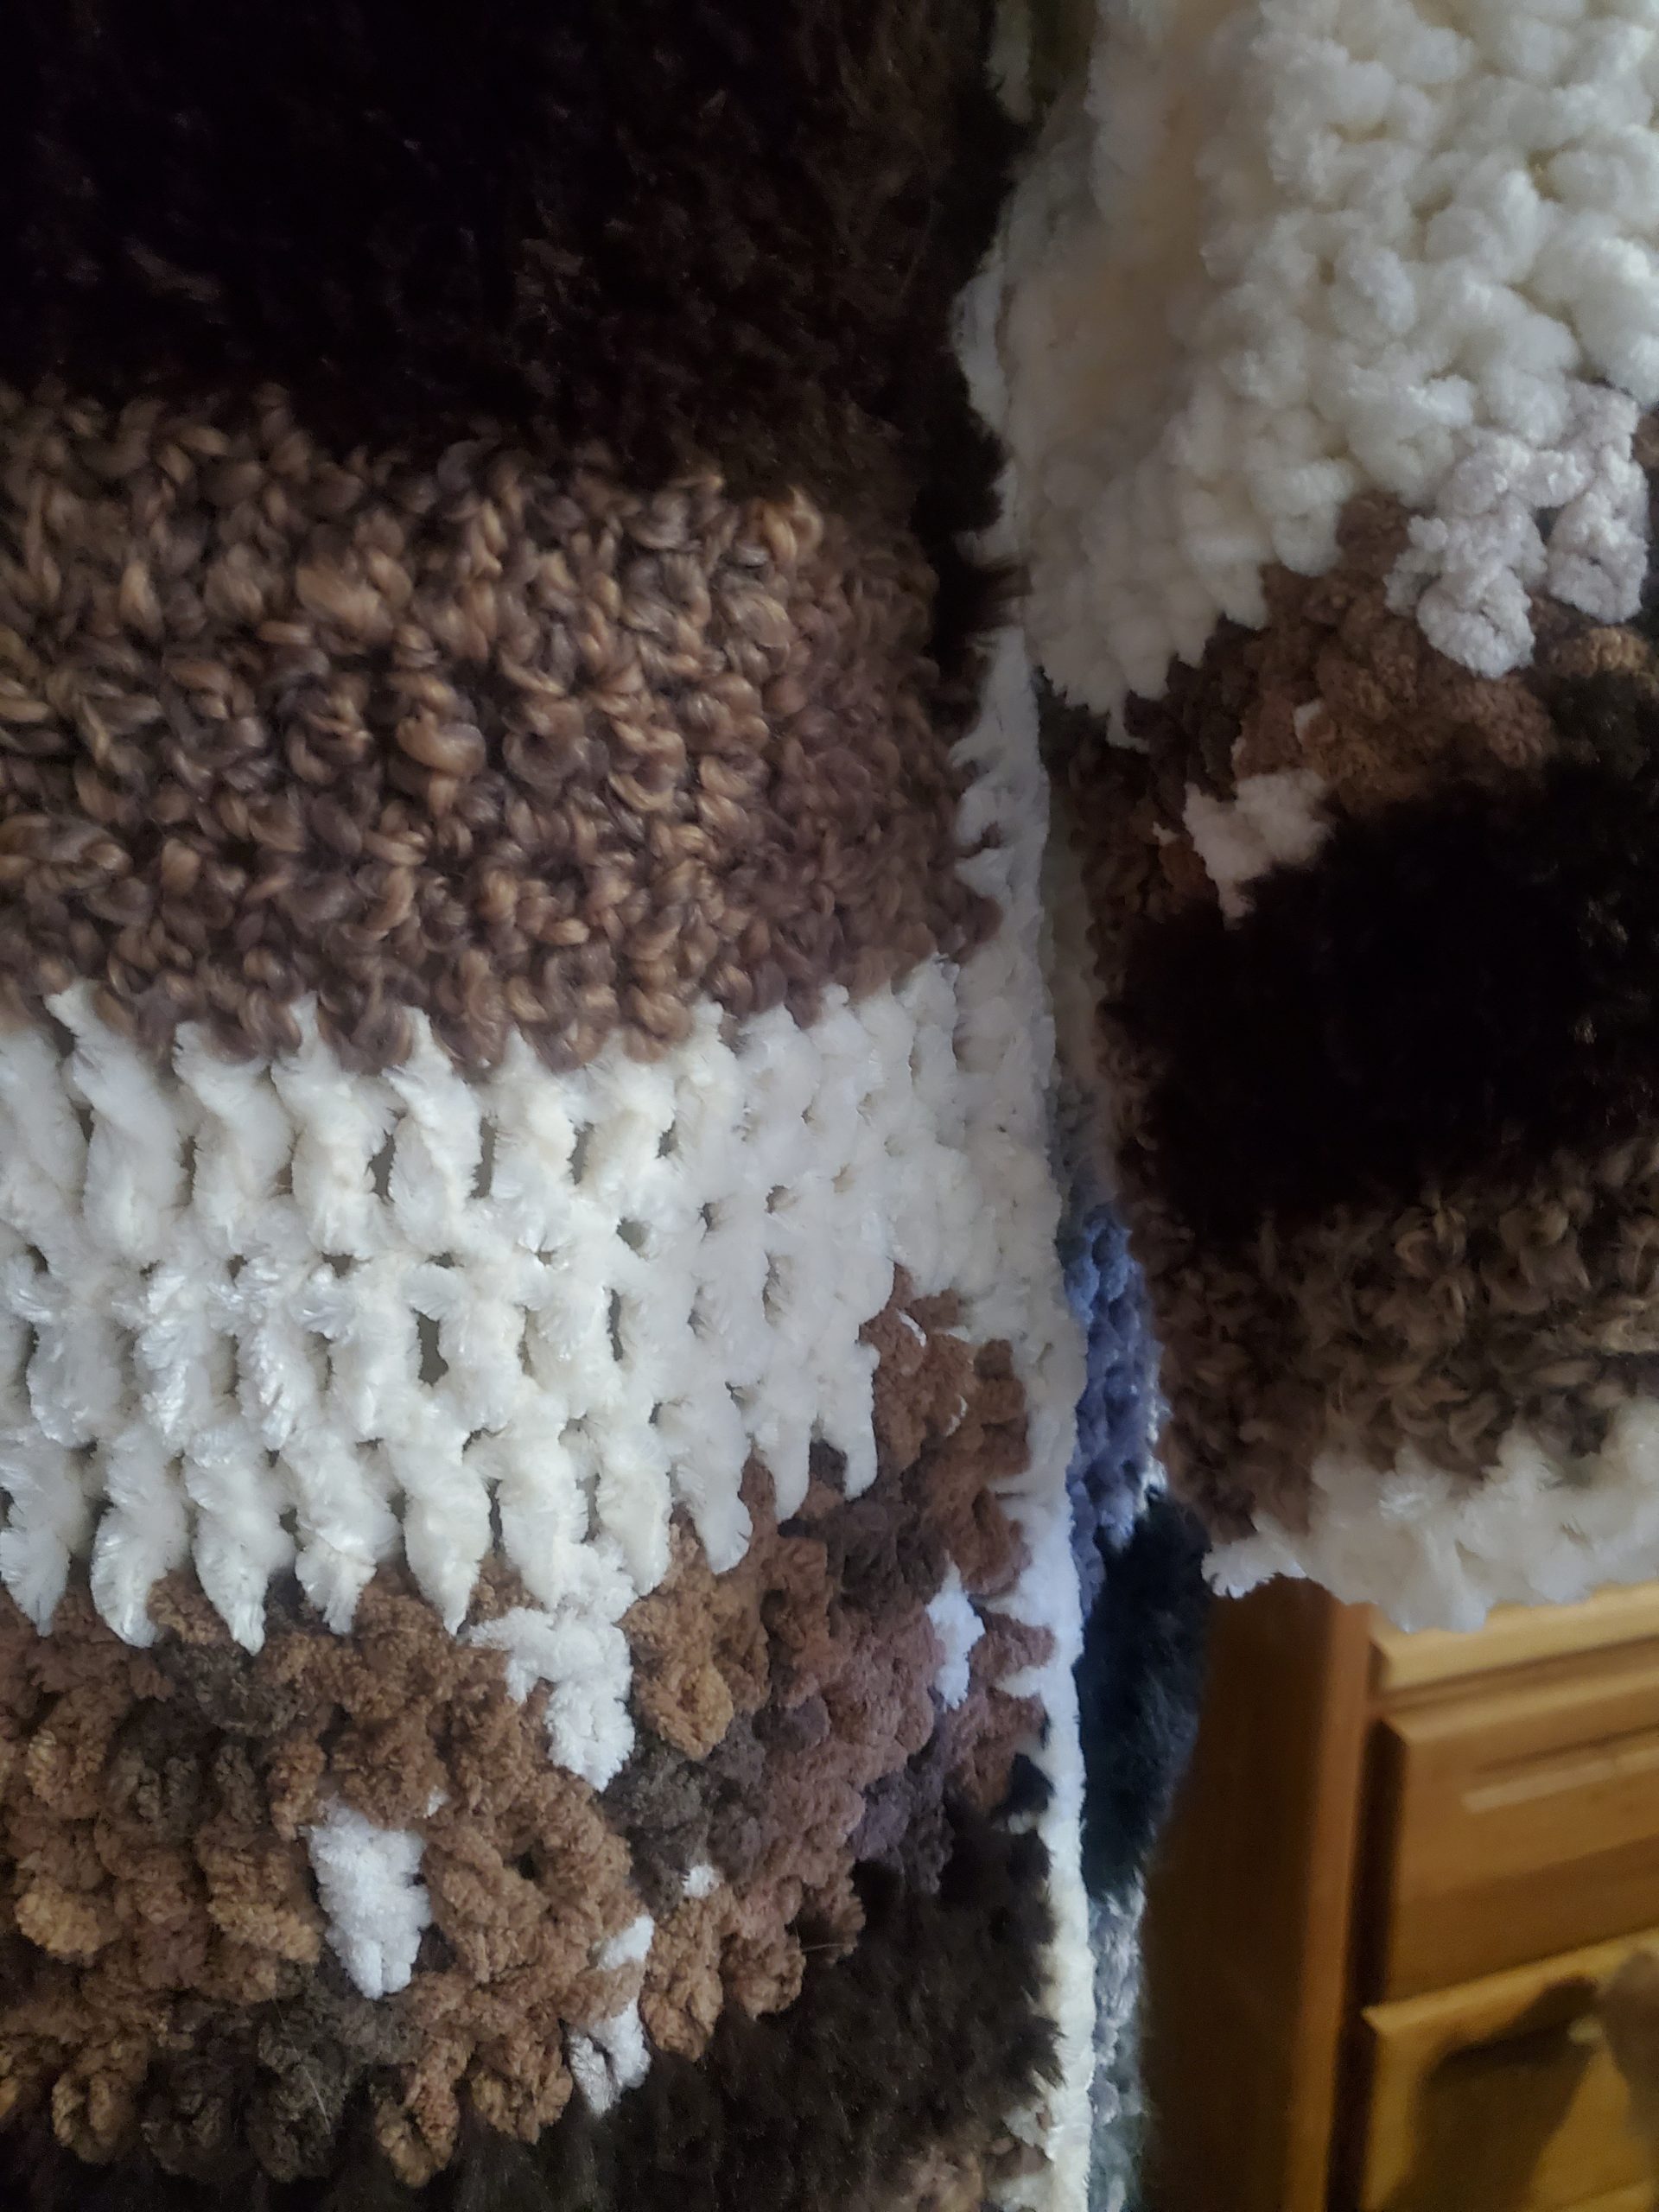
What makes it truly challenging was that this luxurious yarn is really hard seeing your stitches, even with an easy basic stitch. However, well worth the effort it created, it came out pretty amazing, even if I say so myself. I am so glad I tackled it. Hope these pics give it some justice!
Now, along with those, I then measured the length of the sleeve I wanted, preferably three quarters. Also, I had to figure out how big of an opening needed for my arm hole. Then make two of these the same size. These were smaller than the front panels though. Easy Peasy.
More Sassy & Sophisticated…
Alright, here is where everything slowed down a little as a learning curve was needed to be able to work with this wonderful yarn challenge, as you see in the photo. And, I decided to use a simple stitch; my favorite for bulky yarn is the double crochet stitch as well as the chain stitch. Once I got going and on a roll with a more loose stitch than normal, things went smoother.
Next, after all the panels were completed, I needed to put it all together. Firstly was to put the back and front panels together at the shoulder. Afterwards, I had to put the arms together, pinning at the middle of the arm, to the middle of the shoulder. The entire garment was put together using single crochet stitches.
Now that the jacket has been crochet stitched on top of the shoulders, with back & front rectangles, and along the sides of shoulders to form the arms. It is time to finish up with a single line of stitch from sleeve to hem, down both sides of the jacket. [Make sure you’re stitching by putting the right sides together of each rectangle before stitching them together.]
However, maybe unfortunate, after single crocheting down one side, I realized that I had crocheted on the wrong side. Now, after some thought and feedback from my husband, I decided to go with it as it looks better. So I did and matched the other side the same way. Also, removing stitches with this kind of mixed media yarn is more challenging, since it can knot easily.
Wrapping Up Sassy & Sophisticated…
Finally, I turned the jacket inside out to see how it all looks. I even tried it on! Well, bigger than I anticipated L/XL instead of M/L. Something I must fix in order for me to actually wear this. I pondered for a while and found I needed to add a liner. One reason is due to now, it was more of a coat on me than a jacket. Now I’m thinking of what and how I was going to accomplish that?
Okay, starting with the basic rectangle, I came up with needing a total of five separate panels of these to complete a basic jacket shape. One large rectangle for my back. So, I loosely measured myself the width and length to make a jacket. Once I completed this panel, I planned to then measure the two front panels needed, along with their sizes. They needed to be identical or as much as possible.

But wait! I have an idea. I remembered that I had a white flowy sleeveless t-shirt tunic. Next thing you know, I found it and sewed it to the back thus, condensing it. This helps cut down the largeness of the back. Then I sewed the shoulders. And tacked stitches on the underarms. Since the shirt was a v-neck, it was easy to figure the middle of the shirt and cut it, all the way down to the bottom front of the shirt.
Afterwards, I sewed the top of the front panels to each of the insides of the shirt; as both are angled and create a more stable undershell. Now the entire top portion of the shirt is secured to the jacket. And, just to give it a finished look I attached three sets of Antler closures, pictured above. Completely done without any pattern. Kinda free form.
Tour of Textile Arts Gallery A ~ Freeform Crochet
Earlier in my life I was reading up on this new art form called Freeform. Which, of course, led me to Freeform Crochet. And, it was difficult for me at first cause I was always used to having a pattern for the most part. Or, wanting to make sure things are even and structured.
Well, Freeform Crochet is just the opposite of that. It’s simply to take an idea and run with it without limitations or inhibitions with what you create. Many times it is done in layers, but always on the fly without too much planning and definitely without any patterns. Just create what comes to mind. I have another one of these creations, only done as an art wall hanging. I will be adding this project to the gallery in the future.
Stay tuned. Hope you are enjoying the gallery thus far! This ends the Tour of Textile Arts Gallery A. Stay tuned for Gallery B to open soon!
Click & Continue the Tour of Textile Arts Gallery B to see my Next Projects on Display!
